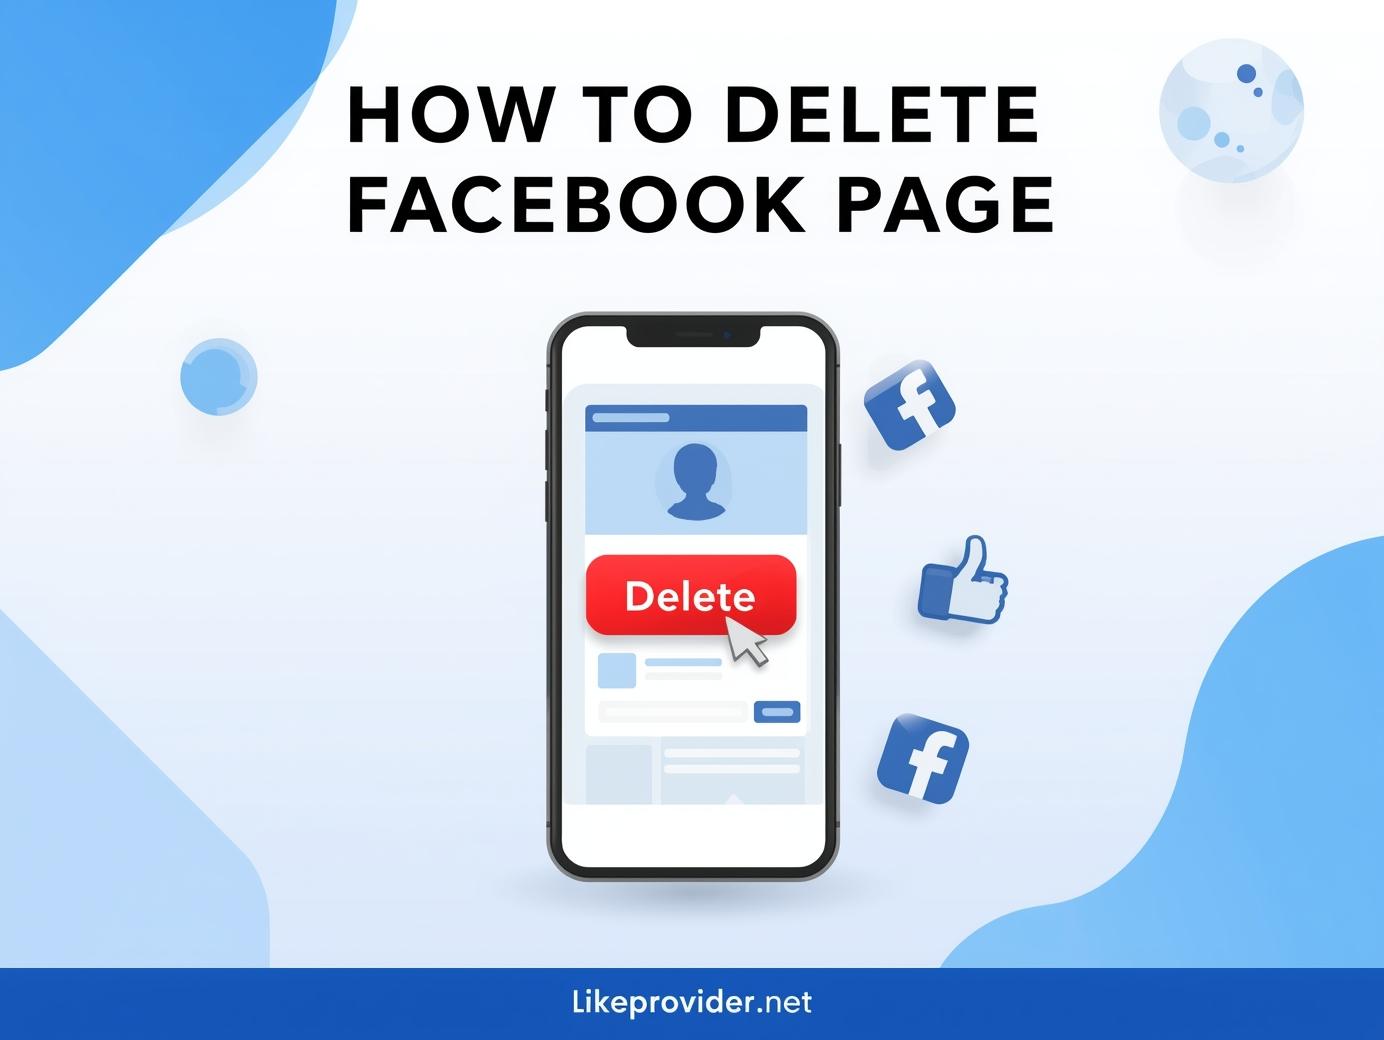
How to Delete Facebook Page Permanently (Step-by-Step 2025 Guide)
Deciding to delete your Facebook page can stem from various personal or practical reasons. Perhaps you've become concerned about privacy, or maybe you're finding social media overwhelming. Additionally, if your page is no longer fulfilling its purpose, it might be time to reconsider its existence. It’s worth noting that many users seek guidance on how to delete Facebook page. Others might wonder how to delete Facebook page on mobile or explore if there are ways to delete a page without admin access.
- Privacy concerns: Protecting your personal information.
- Time management: Reducing distractions and reclaiming your time.
- Content irrelevance: Assessing whether posts still resonate with you.
Step-by-Step Guide to Accessing Your Facebook Page Settings
To access your Facebook page settings, first, log into your account and navigate to your page. Click on the 'Settings' option located on the left sidebar. There, you'll find various options for managing your page. If you’re wondering how to delete Facebook page settings, you might have to explore these sections carefully, as the process can be slightly tricky. Always ensure to save changes and double-check before deciding how to delete Facebook page quickly or managing configurations. Additionally, if you're looking into how to delete Facebook page for business, consider backup options first.
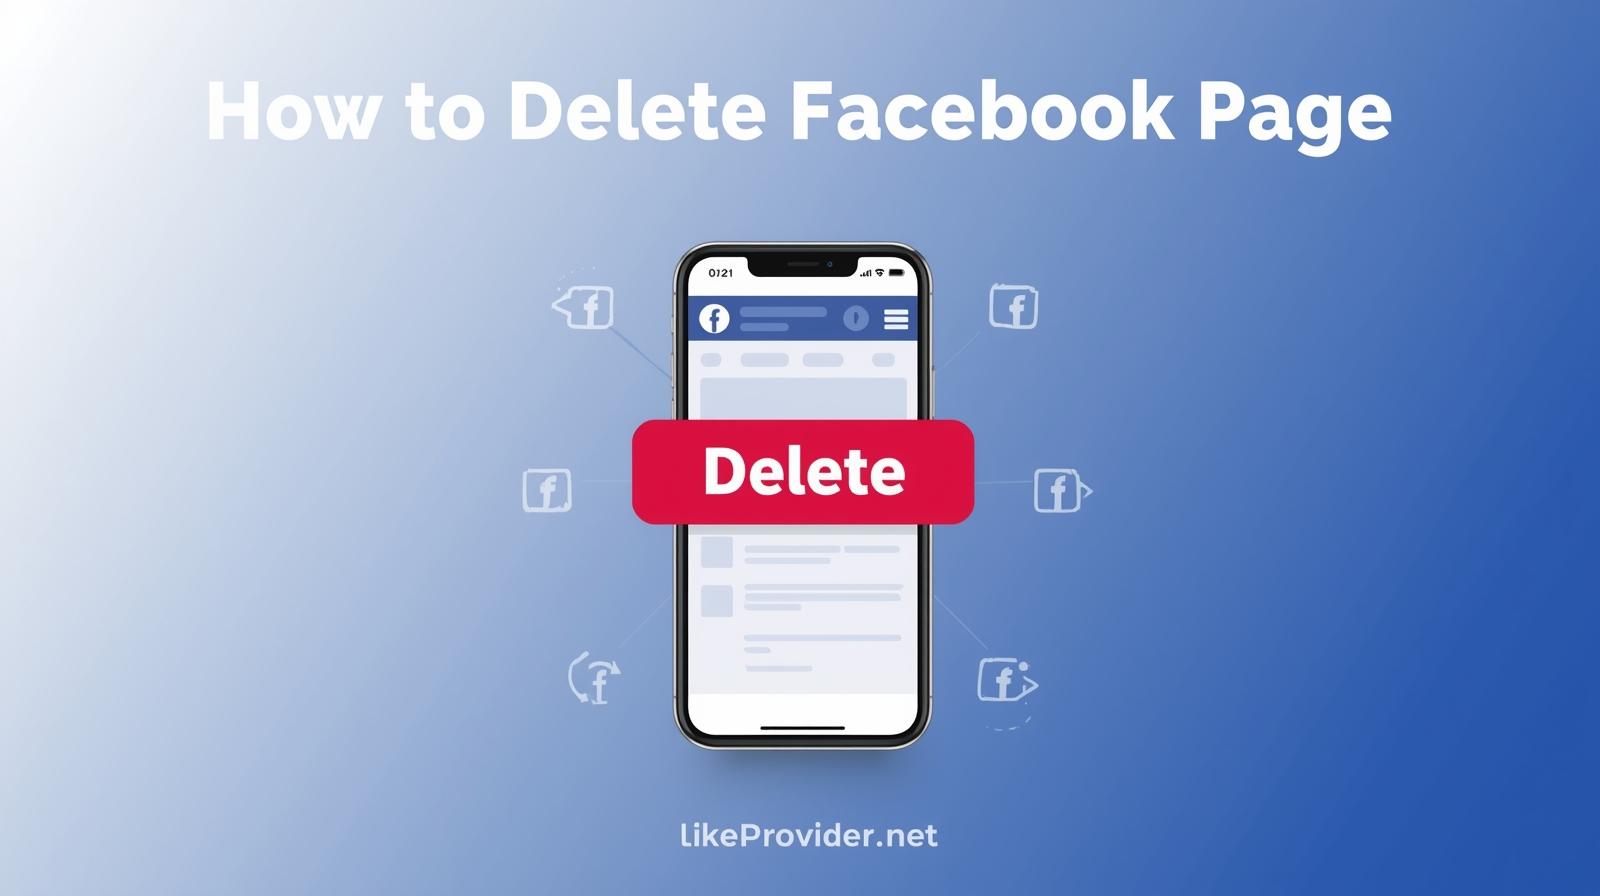
How to Delete a Facebook Page (Step-by-Step Guide)
Deleting a Facebook Page is simple if you follow the right steps. Here’s how to do it safely and permanently:
- Log in to Facebook – Use the account that has admin access to the page you want to delete.
- Go to “Pages” – On the left sidebar (desktop) or under the menu (mobile app), find and select “Pages.”
- Select Your Page – Choose the page you want to delete from the list.
- Open Settings – Click “Settings” in the left menu of your Page dashboard.
- Access Page Removal Option – Go to “General” and scroll down until you see “Remove Page.”
- Click “Delete [Page Name]” – Facebook will ask for confirmation; choose “Delete Page” again.
- Confirm Deletion – Once confirmed, Facebook will schedule the deletion. You’ll have 14 days to restore it if you change your mind.
After this period, your Facebook Page will be permanently deleted. Make sure to back up any important photos, posts, or insights before deletion.
To grow your social media faster after deleting your page, check out our cheap SMM panel for affordable and high-quality marketing services.
Preparing Your Content: What to Consider Before Deletion
Before taking the plunge, reflect on the reasons behind your decision. Is it the engagement, the content itself, or perhaps a shift in focus? Knowing how to delete Facebook page step by step can seem straightforward, but it’s worth considering the implications. Backup any material you might want later; sometimes, decisions made in haste can lead to regrets. Also, think about the audience you might leave behind and how they’ll react to the change.
Evaluate Your Reasons
Additionally, contemplate whether there are alternatives to deletion, such as deactivation or a content overhaul. This could offer a fresh start without a complete loss. Ultimately, being clear on your objectives will guide your next steps.
The Deletion Process: A Comprehensive Walkthrough
Understanding how to delete a Facebook page is vital for anyone looking to remove their online presence. The deletion process involves several steps that may initially seem straightforward, but can introduce complications. First, locate the settings menu within your page, which might not be where you expect it. Then, navigate through the options carefully. Finally, confirm your choices, but be cautious—once the page is deleted, reversing the action is not always guaranteed. Therefore, think it through.
Post-Deletion Considerations: What Happens Next?
After you decide how to delete a Facebook page, it’s essential to understand the potential implications. Your content may vanish, but what about your connections? Some users might notice your absence, leading to questions or concerns. Additionally, you may find lingering impressions of your past posts in shared memories. Therefore, communicating your reasons can provide clarity to your friends. Ultimately, whether this marks a fresh start or an end is up to you alone.
Conclusion
In conclusion, knowing how to delete a Facebook page can be a straightforward process when you follow the right steps. If you’ve decided that stepping away from your page is the best choice, this guide has equipped you with everything you need to know. From the initial preparations to the final confirmation, each step is designed to make the process seamless. While it can feel daunting to say goodbye, remember that making space for new opportunities is equally important. Therefore, if you’re ready to take that leap, don’t hesitate. Your digital space should reflect your current needs and interests, and sometimes that means moving on.
You can verify official Facebook page management details through the Facebook Help Center for the most accurate and up-to-date guidance.