How to Increase Website Traffic: Proven Strategies That Actually Work
Every website owner wants more visitors, but achieving consistent growth is not always easy. If you are searching for how to increase website traffic, the key lies in combining the right strategies with a clear understanding of your audience. From SEO and content marketing to social media and email outreach, multiple methods can work together to strengthen your online presence. In this guide, you’ll discover practical and proven approaches that help attract the right visitors and keep them engaged.
Understanding Your Audience
Knowing who your audience is forms the foundation of traffic growth. When you understand their interests, problems, and online behavior, you can create content that truly resonates. This approach not only improves engagement but also increases the likelihood of visitors returning to your site.
Using analytics tools to track user behavior, reviewing feedback, and studying demographic data allows you to make informed decisions. A clear audience profile helps you focus on strategies that naturally support how to increase website traffic over time.
Using SEO to Increase Organic Traffic
Search engine optimization remains one of the most effective ways to grow traffic sustainably. Learning how to increase website traffic with SEO starts with keyword research, optimized headings, and high-quality internal linking. These elements help search engines understand your content and rank it appropriately.
Consistently updating content, improving page speed, and ensuring mobile friendliness further strengthen your SEO performance. Over time, these improvements lead to steady organic traffic without ongoing advertising costs.
Content Marketing That Attracts Visitors
Content plays a central role in traffic generation. Publishing helpful, informative, and original content supports how to increase website traffic through content marketing. Articles that answer real questions tend to perform better in search results and encourage sharing.
Focus on clarity and value rather than volume. Well-written guides, tutorials, and insights build trust and position your website as a reliable resource within your niche.
Quick Wins to Increase Website Traffic
You don’t always need long-term strategies to see results. Some quick improvements can create noticeable traffic gains in a short time. Updating old content with fresh information, improving page titles for clarity, and fixing broken internal links often deliver fast wins. Improving page speed and mobile usability can also lead to immediate engagement improvements. These small but effective actions support how to increase website traffic without major effort.
Leveraging Social Media Platforms
Social media is a powerful channel for expanding reach and visibility. Sharing content consistently helps demonstrate how to increase website traffic using social media by directing users back to your site.
Each platform has its own audience behavior, so adapting your messaging and content format is essential. Engaging visuals, short explanations, and regular interaction can significantly increase click-through rates.
Building Authority with Backlinks
Backlinks remain a strong ranking factor and an important traffic source. Understanding how to increase website traffic with backlinks involves earning links from relevant and trustworthy websites.
Guest posting, collaborations, and high-quality resources naturally attract links. These not only send referral traffic but also improve your website’s authority in search engines.
Email Marketing for Repeat Visitors
Email marketing helps turn one-time visitors into loyal readers. By delivering valuable updates and personalized content, you maintain ongoing engagement with your audience.
Regular newsletters, exclusive tips, and relevant offers remind subscribers to return, contributing to long-term traffic growth and stronger brand loyalty.
Analyzing Competitors in Your Niche
Competitor analysis provides valuable insights into what works within your industry. Observing their content structure, keywords, and promotion strategies can reveal new opportunities.
Rather than copying, adapt successful ideas to your own brand voice. This approach supports innovation while strengthening your understanding of how to increase website traffic effectively.
Common Mistakes That Limit Traffic Growth
Many websites struggle with traffic because of avoidable mistakes. Publishing content without clear intent, ignoring technical SEO issues, or relying on only one traffic source can limit growth. Inconsistent publishing and poor internal linking also reduce visibility. Avoiding these mistakes helps maintain steady progress and improves how to increase website traffic in a sustainable way.
Using Paid Advertising Strategically
Paid advertising can accelerate traffic growth when used correctly. While organic methods take time, ads offer immediate visibility to targeted audiences.
Choosing the right platforms, setting realistic budgets, and testing ad performance are essential steps. When combined with organic strategies, paid traffic can significantly enhance overall reach.
If you are looking for a reliable smm panel, it offers scalable solutions for social media growth.

Conclusion
Increasing traffic is not about quick wins but about building a strong and consistent strategy. Learning how to increase website traffic requires patience, adaptability, and a clear focus on your audience.
By combining SEO, content marketing, social media, backlinks, email outreach, and paid advertising, you create a balanced growth system. Stay consistent, analyze results, and refine your approach to achieve sustainable traffic growth over time.
Frequently Asked Questions
What are the most effective ways to increase website traffic?
SEO, high-quality content, social media engagement, email marketing, and paid advertising are among the most effective methods.
How long does it take to see traffic growth?
Results vary, but organic strategies typically show improvement within a few weeks to a few months.
Is organic traffic better than paid traffic?
Organic traffic is more sustainable long term, while paid traffic offers faster results. A balanced strategy works best.
How often should content be updated?
Updating content regularly, such as weekly or monthly, helps maintain rankings and user engagement.
Can social media really increase website traffic?
Yes, consistent and targeted social media activity can drive significant referral traffic to your website.
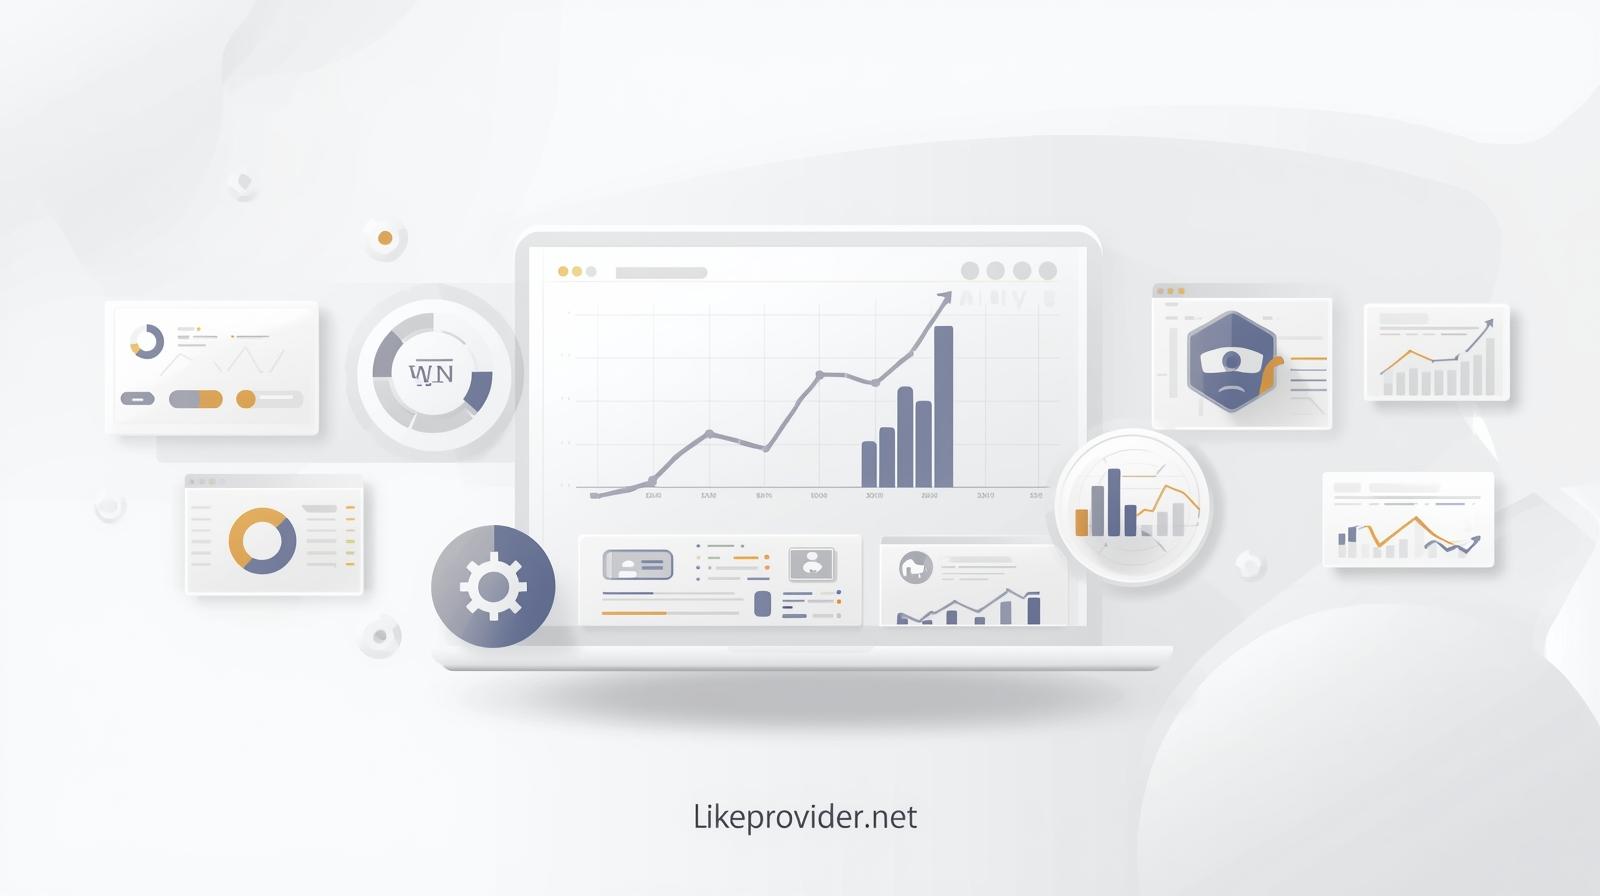
You can find a helpful visual guide related to this topic here.