What Is TikTok FYP? How the For You Page Works & How to Get Featured
The digital landscape evolves quickly, and TikTok continues to redefine how content is discovered and consumed. One of the platform’s most influential features is the For You Page, commonly known as FYP. Many users search for what is tiktok fyp to understand how videos suddenly go viral and why certain content appears on their feed.
In simple terms, the FYP is a personalized content stream designed to show videos that match a user’s interests, behavior, and engagement patterns. Understanding what is tiktok fyp is essential for both casual users and creators who want to increase reach and visibility.
What Is TikTok FYP in Simple Terms
If you are wondering what is tiktok fyp, the answer is straightforward. The TikTok FYP is a recommendation-based feed that displays videos TikTok believes you will enjoy, even from accounts you do not follow. It is the main discovery engine of the platform and the primary way new creators gain exposure.
Understanding the TikTok For You Page Algorithm
To fully grasp what is tiktok fyp meaning, it helps to understand how TikTok’s algorithm evaluates content. The what is tiktok fyp algorithm focuses on relevance rather than popularity, allowing videos from small accounts to reach large audiences.
The algorithm analyzes user behavior, including watch time, likes, comments, shares, and how users interact with similar videos. Content signals such as captions, hashtags, sounds, and video topics also influence how content is categorized and distributed.
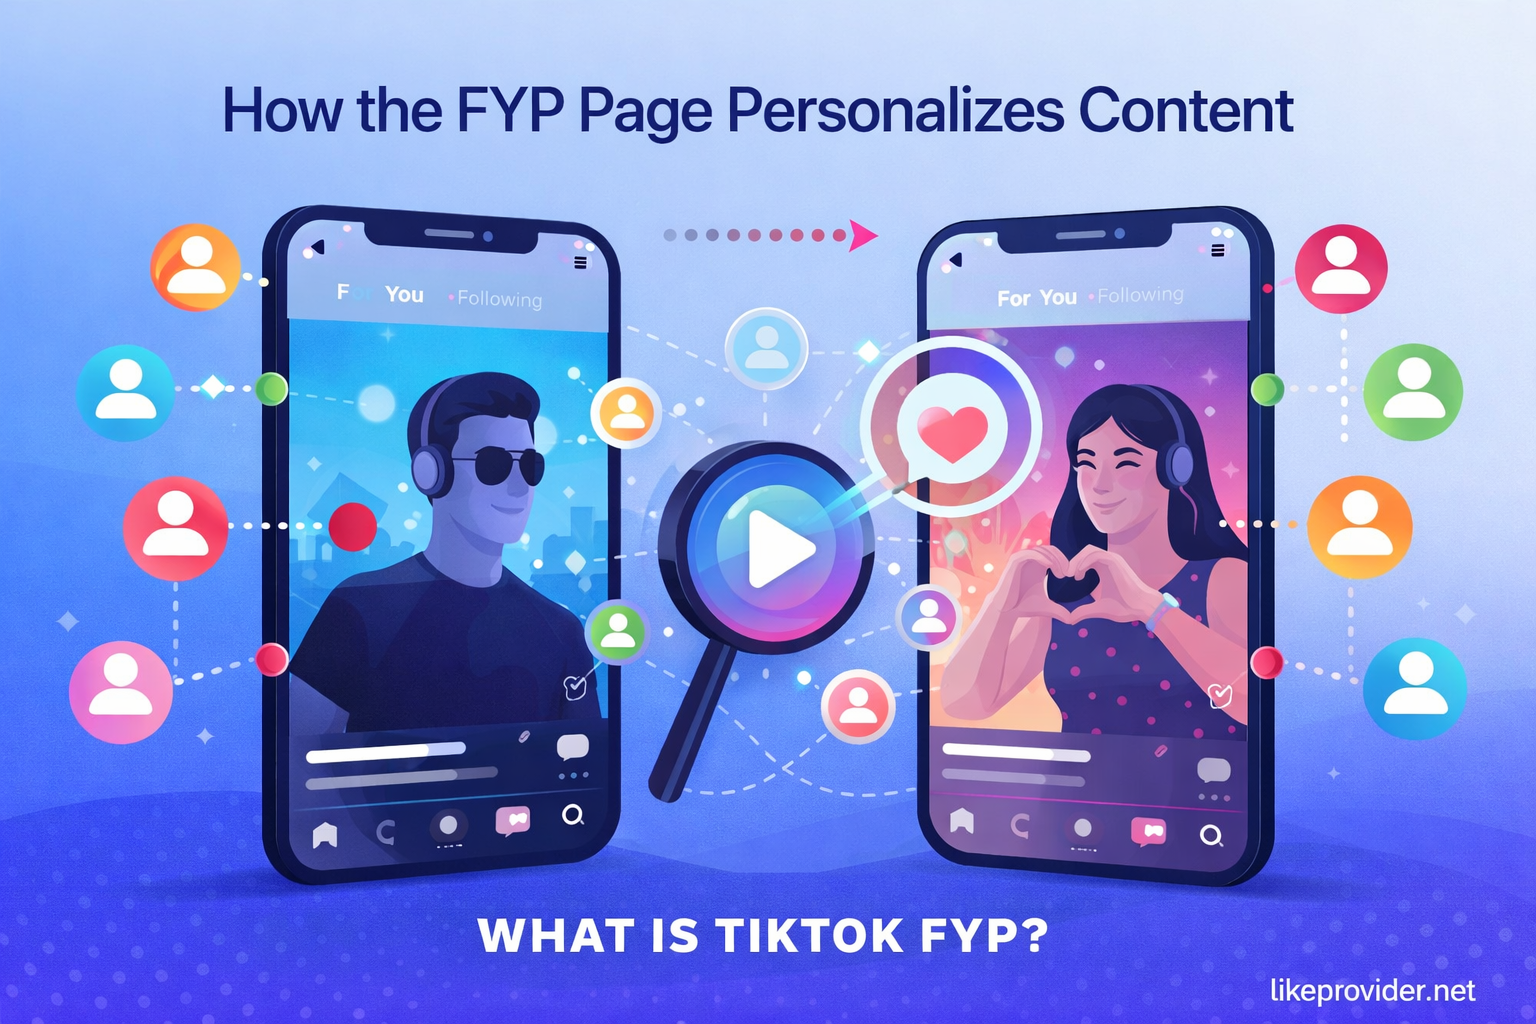
How the FYP Page Personalizes Content
The what is tiktok fyp page experience is unique for every user. TikTok continuously adapts recommendations based on viewing habits, making each feed highly personalized. This is why two users rarely see the same videos, even when scrolling at the same time.
As users interact with content, TikTok refines its understanding of their preferences. Over time, this creates a feed that closely matches individual interests, making the FYP highly engaging and addictive.
Why TikTok FYP Is Important for New Users
For new users and creators, understanding what is tiktok fyp is especially important. The FYP allows content to be discovered without relying on an existing follower base. This means even a brand-new account can gain traction if its content resonates with viewers.
This discovery-first approach sets TikTok apart from other platforms and makes the FYP a powerful growth opportunity for beginners.
How Does TikTok Choose Videos for the FYP
TikTok selects videos for the FYP by testing them with small audience segments. If users engage positively through watch time and interactions, the video is shown to larger groups. This testing process helps TikTok determine content quality and relevance.
Because of this system, consistency and audience response matter more than posting frequency alone.
Can Small Accounts Appear on TikTok FYP
Yes, small accounts can appear on the FYP regularly. One of the most common misconceptions about what is tiktok fyp is that only large creators benefit from it. In reality, TikTok evaluates content independently of follower count.
This makes the platform highly competitive but also fair, as creativity and relevance often outperform account size.
How Long Does It Take to Reach the FYP
There is no fixed timeline for reaching the FYP. Some videos gain exposure within minutes, while others take hours or even days. The speed depends on early engagement signals and how viewers respond to the content.
Patience and consistency play an important role, especially for newer creators.
Optimizing Videos for Better FYP Visibility
To increase your chances of appearing on the FYP, focus on strong openings and clear messaging. The first few seconds of a video are critical for retention, which directly affects how the what is tiktok fyp system evaluates content.
Using relevant captions, natural hashtags, and aligning with what is tiktok fyp trends can further support discoverability without feeling forced.
The Role of Engagement Metrics in FYP Selection
Engagement metrics are central to understanding what is tiktok fyp performance. Watch time, replays, comments, and shares signal content value to the algorithm. Sustained engagement is often more impactful than a short burst of views.
This is why videos that keep users watching tend to perform better over time.
If you are testing engagement strategies, using tools like free TikTok likes can help creators understand how early interaction impacts visibility on the For You Page.
Common Myths About TikTok FYP
Many myths surround the FYP. A common belief is that posting at a specific time guarantees FYP placement, which is not entirely true. Others assume hashtags alone control visibility, but engagement quality matters far more.
Understanding these misconceptions helps creators focus on what truly influences performance.
Practical Tips to Improve FYP Reach
- Create engaging openings that capture attention immediately.
- Encourage natural interaction through relatable content.
- Use relevant sounds and captions without over-optimizing.
- Post consistently to help the algorithm understand your niche.
Encouraging authentic interaction, such as free TikTok comments, can strengthen engagement signals that influence how content is evaluated for FYP distribution.
Growing Faster on TikTok Beyond the FYP
While the FYP is powerful, long-term growth also depends on profile optimization and content consistency. Building a clear niche helps TikTok categorize your videos more effectively and recommend them to the right audience.
Combining FYP exposure with strong profile engagement supports sustainable account growth.
Final Thoughts on TikTok FYP
Understanding what is tiktok fyp is key to navigating TikTok successfully. The For You Page is not just a feed, but a dynamic discovery system that rewards relevance, creativity, and engagement.
By focusing on audience behavior, content quality, and consistency, creators can improve visibility and increase their chances of recurring FYP exposure over time.
To learn more directly from TikTok, you can review TikTok’s official explanation of how the For You Page works, which outlines the core signals and recommendation principles behind FYP visibility.